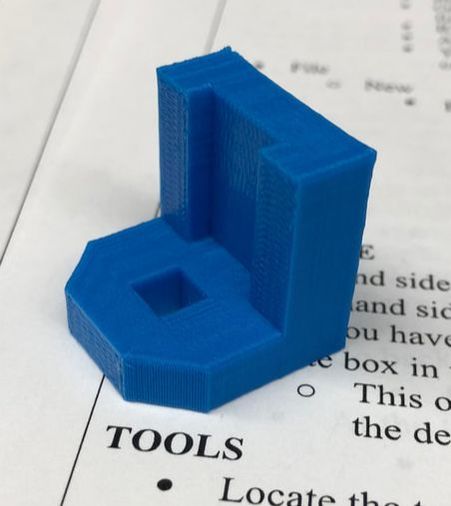
Steps to creating a widget on Inventor
Step 1. Go into inventor, click on new in the left hand corner, and create a standard ipt. project
Step 2: Click on start sketch icon in left hand corner and select X-Y plane.
Step 3: Using the dimension tool, put in the actual dimensions of your widget. Click on Finish Sketch when done.
Step 4: Click on Extrude, select the extrude out button and enter in the correct size, then press OK.
Step 5: Click on start new sketch and click on the side face. Create an outline of the area you want to fill on the widget, using the line tool, then press Finish Sketch when done.
Step 6: Click the Extrude button, select the extrude in button and enter in the correct size, then press OK.
Step 7: Use the Extrude button and select the extrude in option and enter the correct dimension of the hole, then press OK.
Step 8: Repeat step 7 then you are done.
More Widgets:
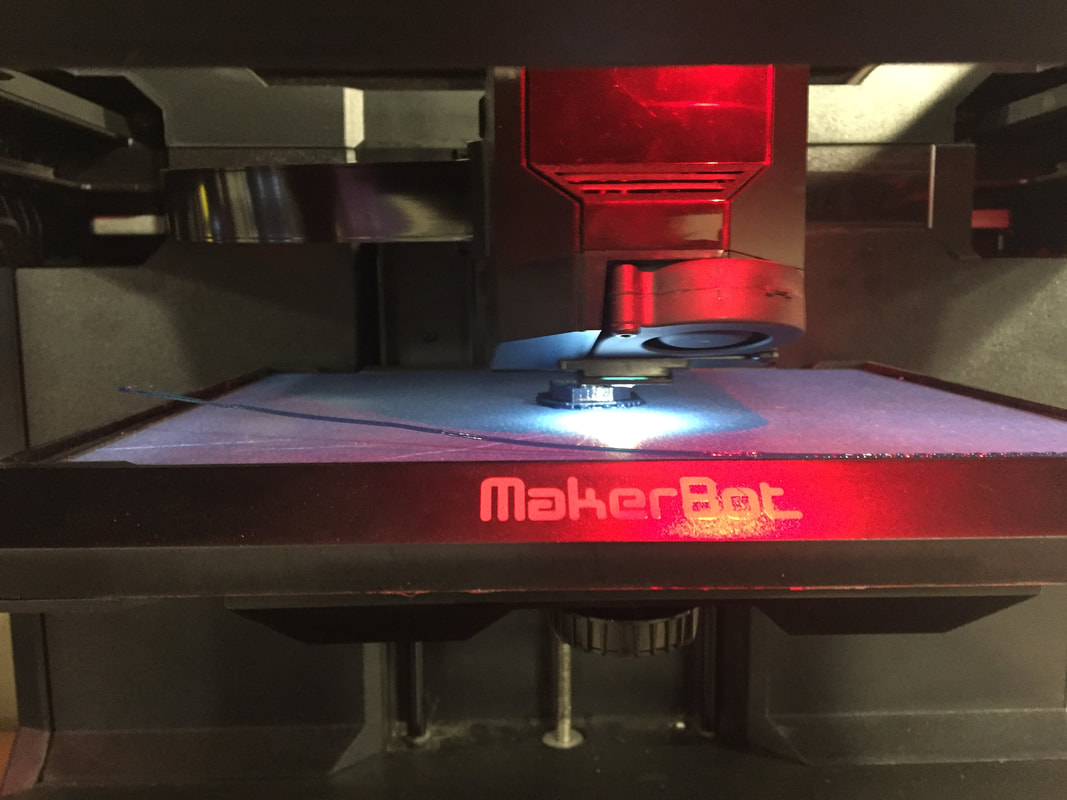
3D Printing Process

What I Learned
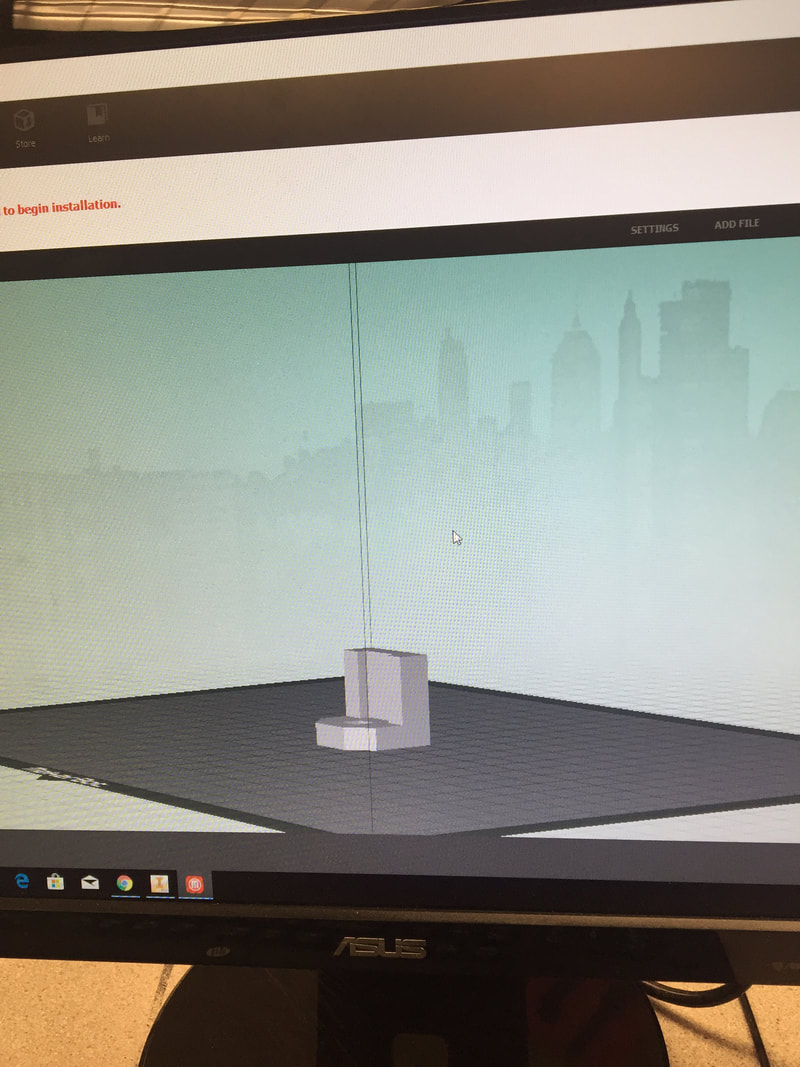
what I learned in this inventor unit was how to use inventor and translate a 3D image from my computer onto Maker bot desktop then into the 3D Printer to get the final 3D printed object.
what I learned in this inventor unit was how to use inventor and translate a 3D image from my computer onto Maker bot desktop then into the 3D Printer to get the final 3D printed object.